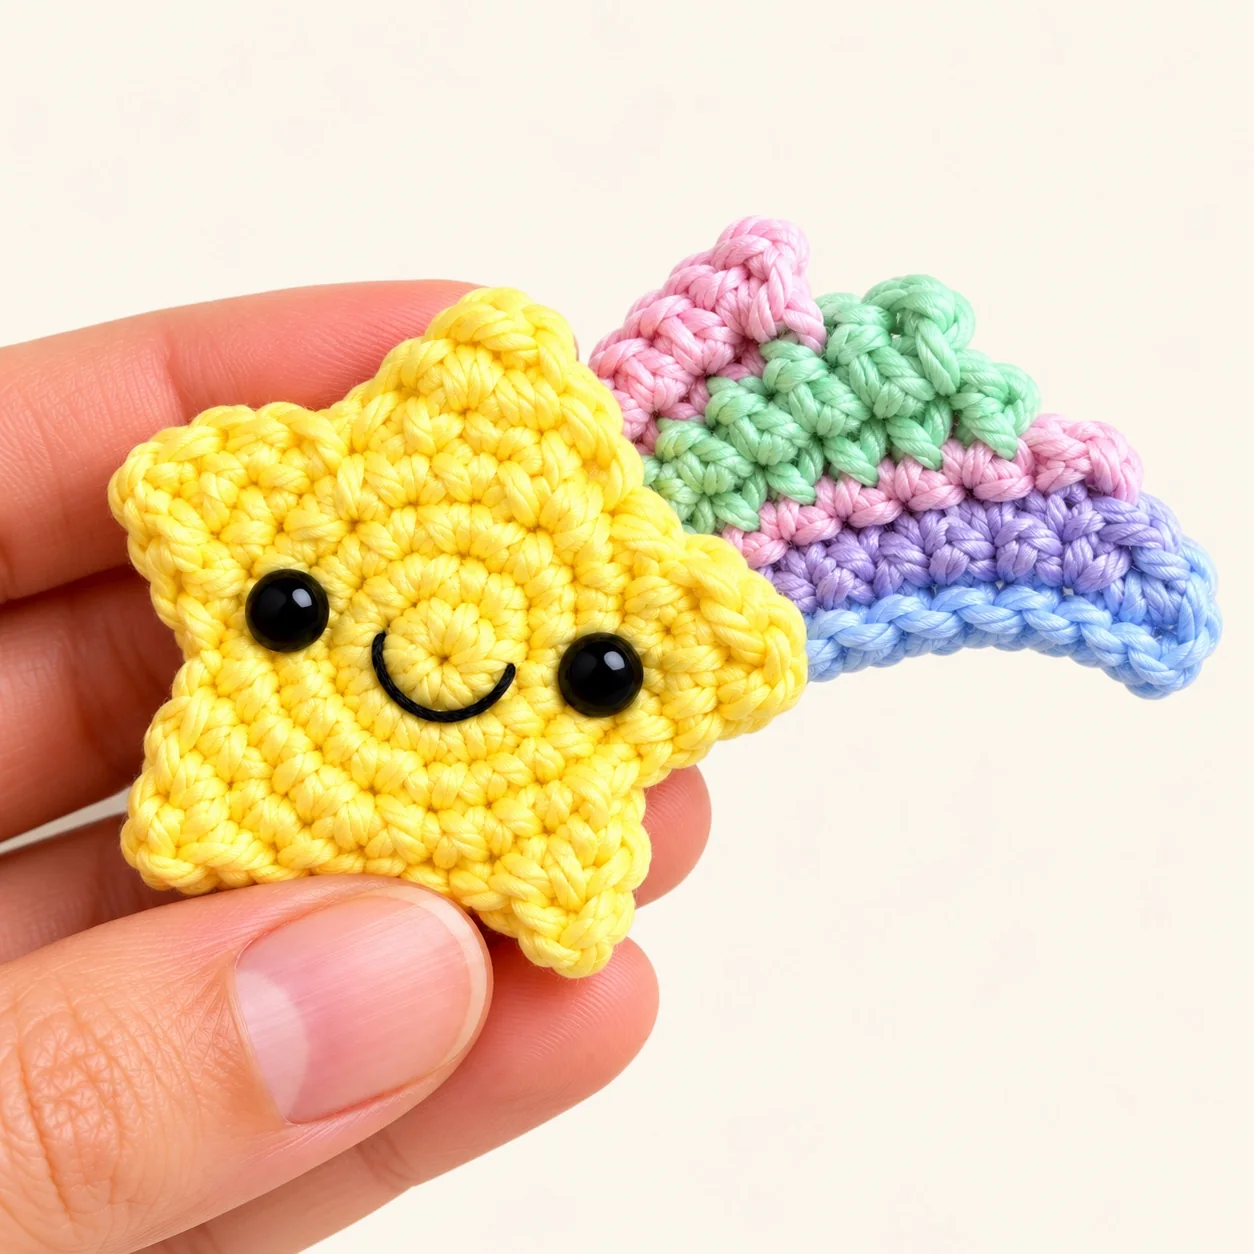
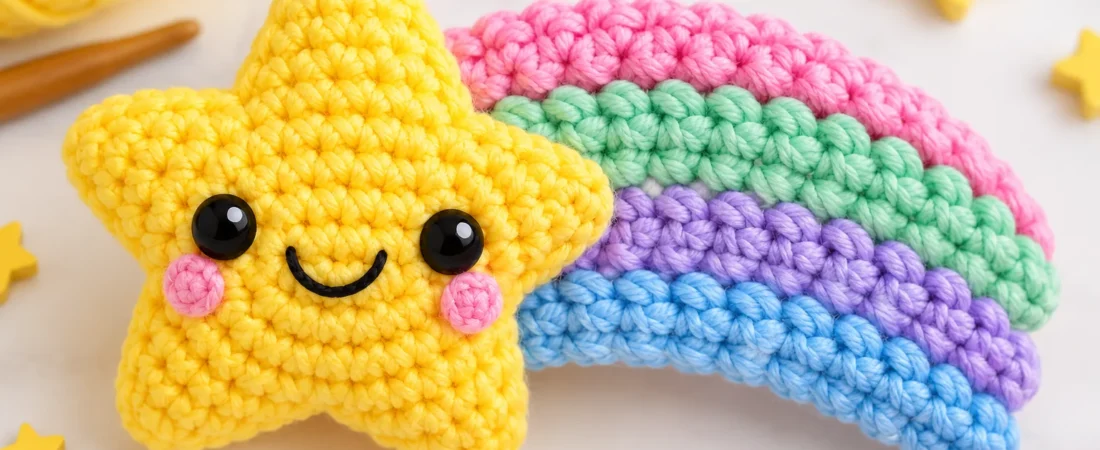
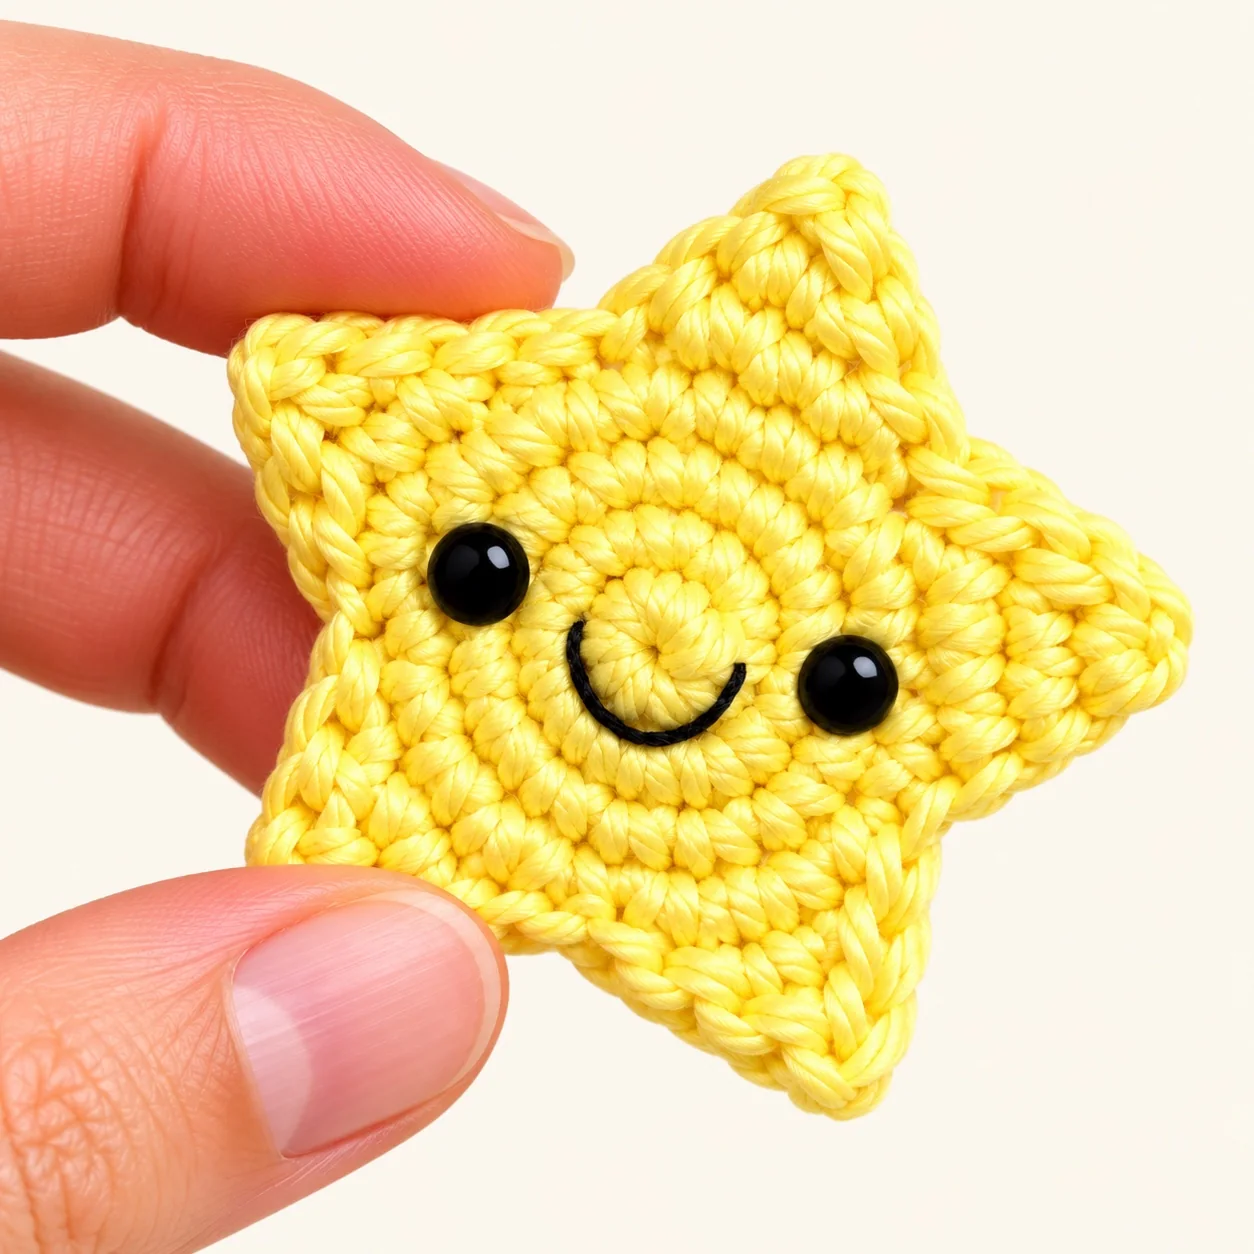
A smiling yellow star and a little trail of pastel stitches make this shooting star crochet pattern a cheerful decorative project. The star begins with two small circles. Its five points are then worked around both pieces, creating a double-sided shape without a long seam around the outside. A separate lilac, pink, and aqua tail gives it its shooting-star silhouette.
This English adaptation uses US crochet terminology and follows Estrella Fugaz, credited in the supplied guide to Bhindi.crochet. Source photographs accompany the project; the explanations and counting tips below are supplementary guidance from HookLoopPatterns.
Pattern notes: This English adaptation uses US crochet terminology. Read the written instructions alongside the step-by-step photographs, especially when joining the star points and changing colors for the tail.
Pattern Overview
| Detail | Project information |
|---|---|
| Project | Flat, double-sided shooting star decoration |
| Skill level | Familiarity with basic crochet and small joined components recommended; editorial assessment, not a source rating |
| Terminology | US crochet terms, translated from Spanish |
| Construction | Two spiral-worked circles, five individually worked points, a separate multicolor tail, and facial embroidery |
| Yarn | Cotton labeled “semi grueso 8/6” in the source; no brand or US yarn-weight category supplied |
| Hook | 3 mm |
| Main color | Yellow, 10 g listed in the source |
| Other colors | Small amounts of lilac, pink, aqua green, and black |
| Filling | None for the main version |
| Finished measurements | Not supplied |
| Gauge | Not supplied |
| Techniques | Magic ring, single crochet, increases, decreases, slip stitches, color changes, and embroidery |
Materials and Tools
- Cotton yarn labeled 8/6, semi grueso: 10 g yellow and small amounts of lilac, pink, aqua green, and black.
- 3 mm crochet hook.
- Yarn needle.
- Stitch marker.
- Scissors.
- A pair of safety eyes labeled No. 6 in the source, or embroidered eyes as the source’s alternative. The PDF does not explicitly give a millimeter measurement for “No. 6.”
- Cold silicone craft adhesive, as specified in the source, for attaching the tail.
- Optional blush for the cheeks.
The guide does not list stuffing for the main version. It also shows keychains in its final photograph, but does not provide hardware specifications or attachment instructions. This tutorial covers the star decoration itself.
Yarn-selection note: Keep the source’s 8/6 label when choosing materials. Without a brand, gauge, or yarn length, assigning it a US weight category would be a guess. Using different yarn may change the size and firmness of the star.
Crochet Abbreviations
| Abbreviation | Meaning in this article |
|---|---|
| MR | Magic ring |
| ch | Chain |
| sl st | Slip stitch |
| sc | Single crochet |
| inc | Work 2 sc in the same stitch |
| dec | Decrease 2 stitches to 1; the source does not specify a particular decrease technique |
| st / sts | Stitch / stitches |
| rnd | Round |
| RS / WS | Right side / wrong side |
In the Spanish source, MP means US single crochet, PD means slip stitch, AUM means increase, and DISM means decrease. Its glossary also lists PMV (US half double crochet) and PV (US double crochet); neither is used in the written project instructions.
For a broader terminology reference, see the Craft Yarn Council’s US crochet abbreviation list.
Important Pattern Notes
Read all instructions before starting, including the source clarification beside the tail.
- Work the star circles and points in a spiral. Do not add joining slip stitches or starting chains to those rounds.
- Although the source introduction says the whole piece is worked in a spiral, the tail expressly includes turns. Follow those turns for the tail.
- Numbers in parentheses after the star rounds are the finished stitch counts.
- Work two yellow circles. Fasten off the first; leave the yarn attached to the second.
- Place the circles with wrong sides together, so their right sides face outward.
- Each point uses four edge stitches from each circle. Work along one circle and then the other; do not single crochet through both circles together as a flat seam.
- Keep the main star unstuffed. Hide the yarn ends inside it.
- Supplemental counting and handling tips are labeled as such; they do not replace the source instructions.
Free Shooting Star Crochet Pattern
Make Two Yellow Circles
With yellow yarn, work the following four rounds twice.
Round 1: Work 5 sc into an MR. (5 sts)
Round 2: Inc in each stitch around. (10 sts)
Round 3: (Sc in the next st, inc in the next st) 5 times. (15 sts)
Round 4: Sc in the next st, inc in the next st, (sc in each of the next 2 sts, inc in the next st) 4 times, sc in the last st. (20 sts)
Fasten off the first circle. Do not cut the yarn on the second circle.
Counting tip: Round 4 places one sc before the first increase and one sc after the final repeat. Those two single crochets both belong in the round. This offsets the increases rather than stacking them in the same positions.
Work the First Star Point
Place the two circles with wrong sides together. Keep the second circle, with its working yarn attached, identifiable.
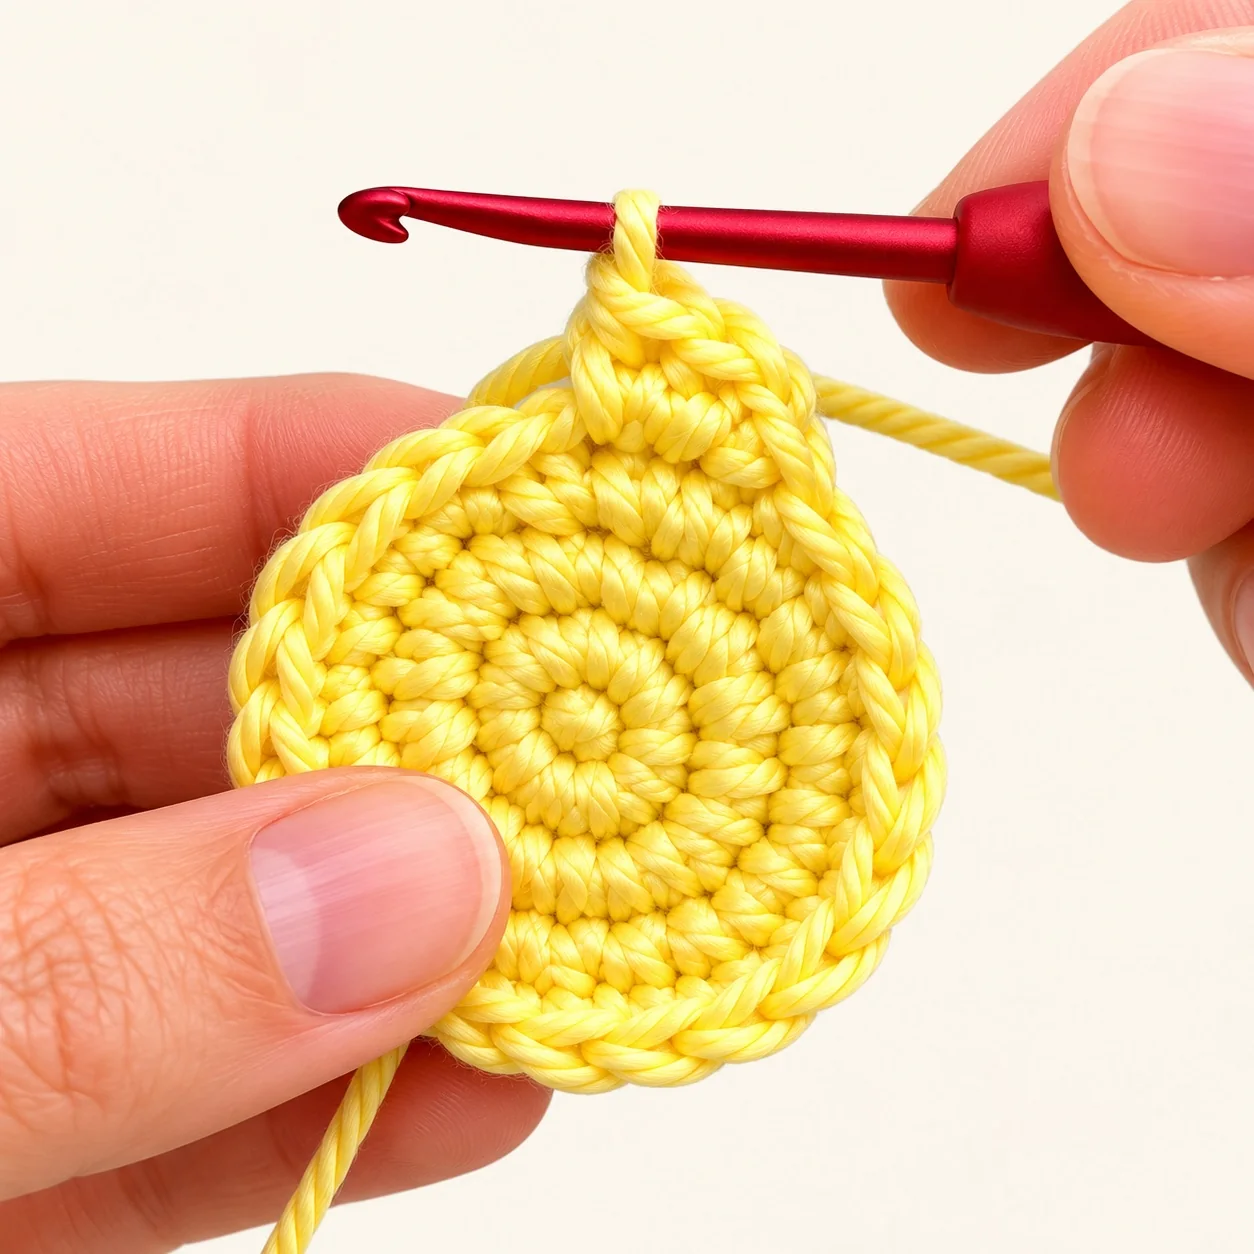
Point Round 1: Work 4 sc along the second circle. Continue onto the first circle and work 4 sc. These eight stitches form the round for one point. (8 sts; count calculated from the source)
Point Round 2: Work 4 sc, then 2 dec. (6 sts)
Cut the yarn, leaving a tail for closing the opening with a yarn needle.
Handling tip: Keep the unused edge stitches visible as you move from one circle to the other. The point surrounds a small section of the two circles; it is not an extra triangle sewn on afterward.
Work the Remaining Four Points
Join yellow yarn beside the point just made, always joining on the same side of the star. Repeat Point Rounds 1 and 2 over the next four available stitches of each circle.
Repeat until you have five points total. Each circle contributes 4 stitches to each of 5 points: 4 × 5 = 20 stitches per circle.
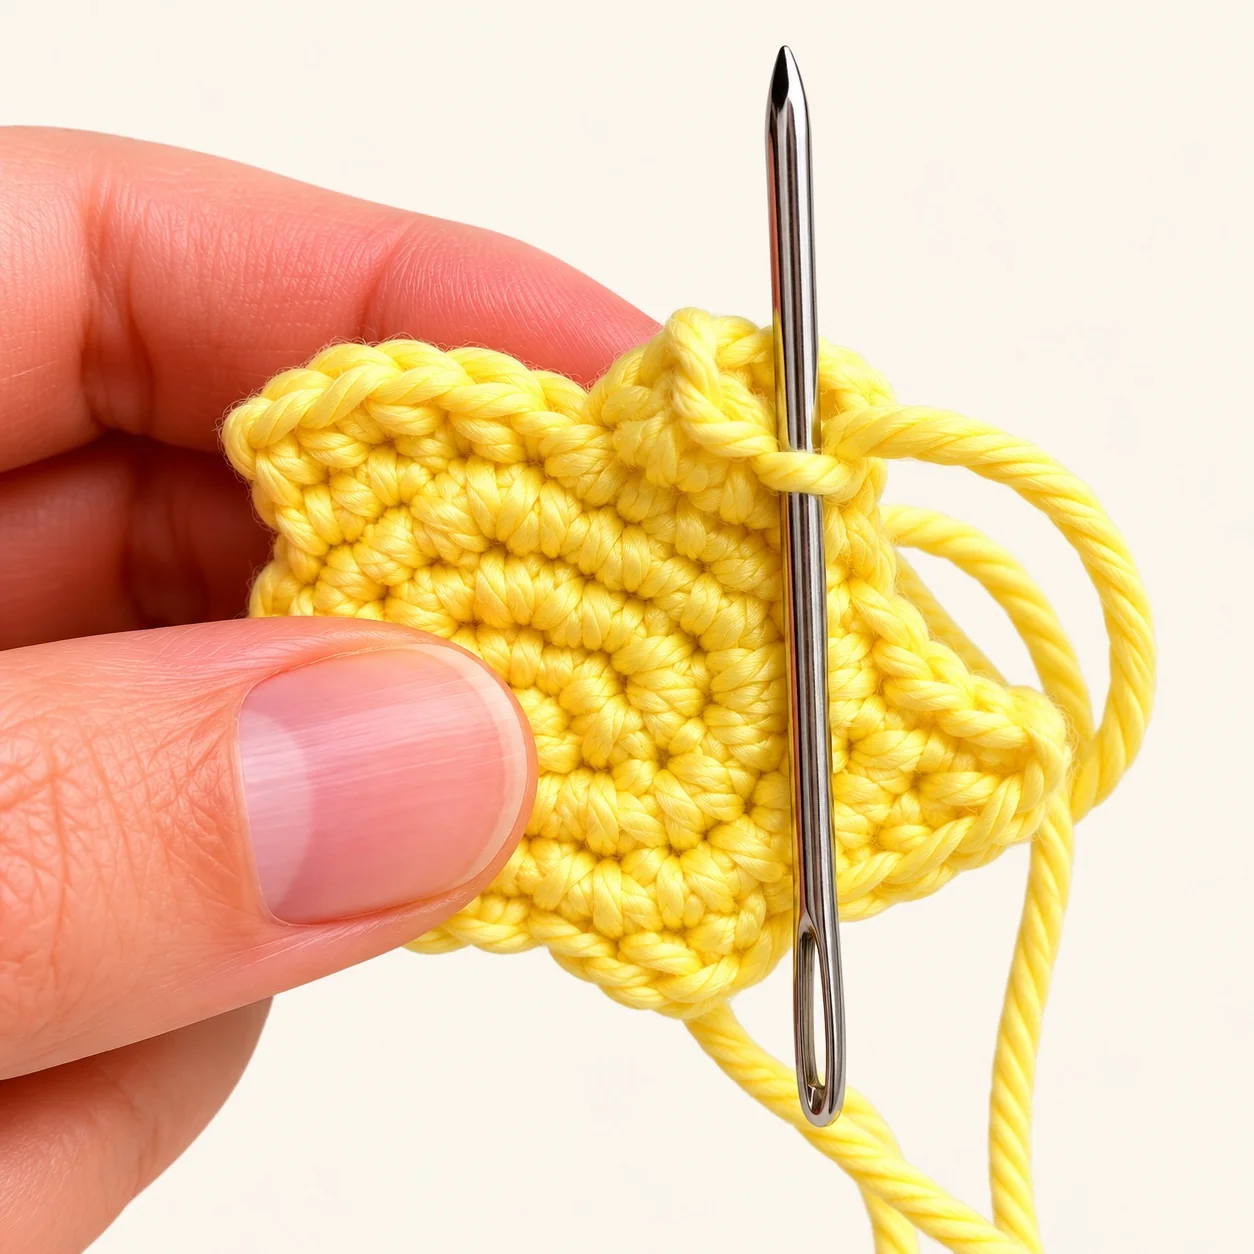
Close every point with the yarn needle. Do not stuff the star. Hide the yarn tails inside.
Finishing tip: Draw each opening closed gradually so the tips look consistent. The source directs needle closure but does not specify an exact needle path or which loops to pick up.
Optional Stuffed-Version Note from the Source
The guide includes an optional tip for readers who want a stuffed version: at the beginning and end of a point’s first round, incorporate the previously worked stitch and the first stitch in a decrease to cover the gap without adding stitches. It also allows closing the gaps afterward with a yarn needle and yarn.
The exact stitch pairing for those extra gap-closing decreases is not fully defined, and the PDF gives no stuffing amount or timing. This note is retained for completeness, not presented as a verified alternate set of point instructions. The main version remains unstuffed.
Make the Pastel Shooting-Star Tail
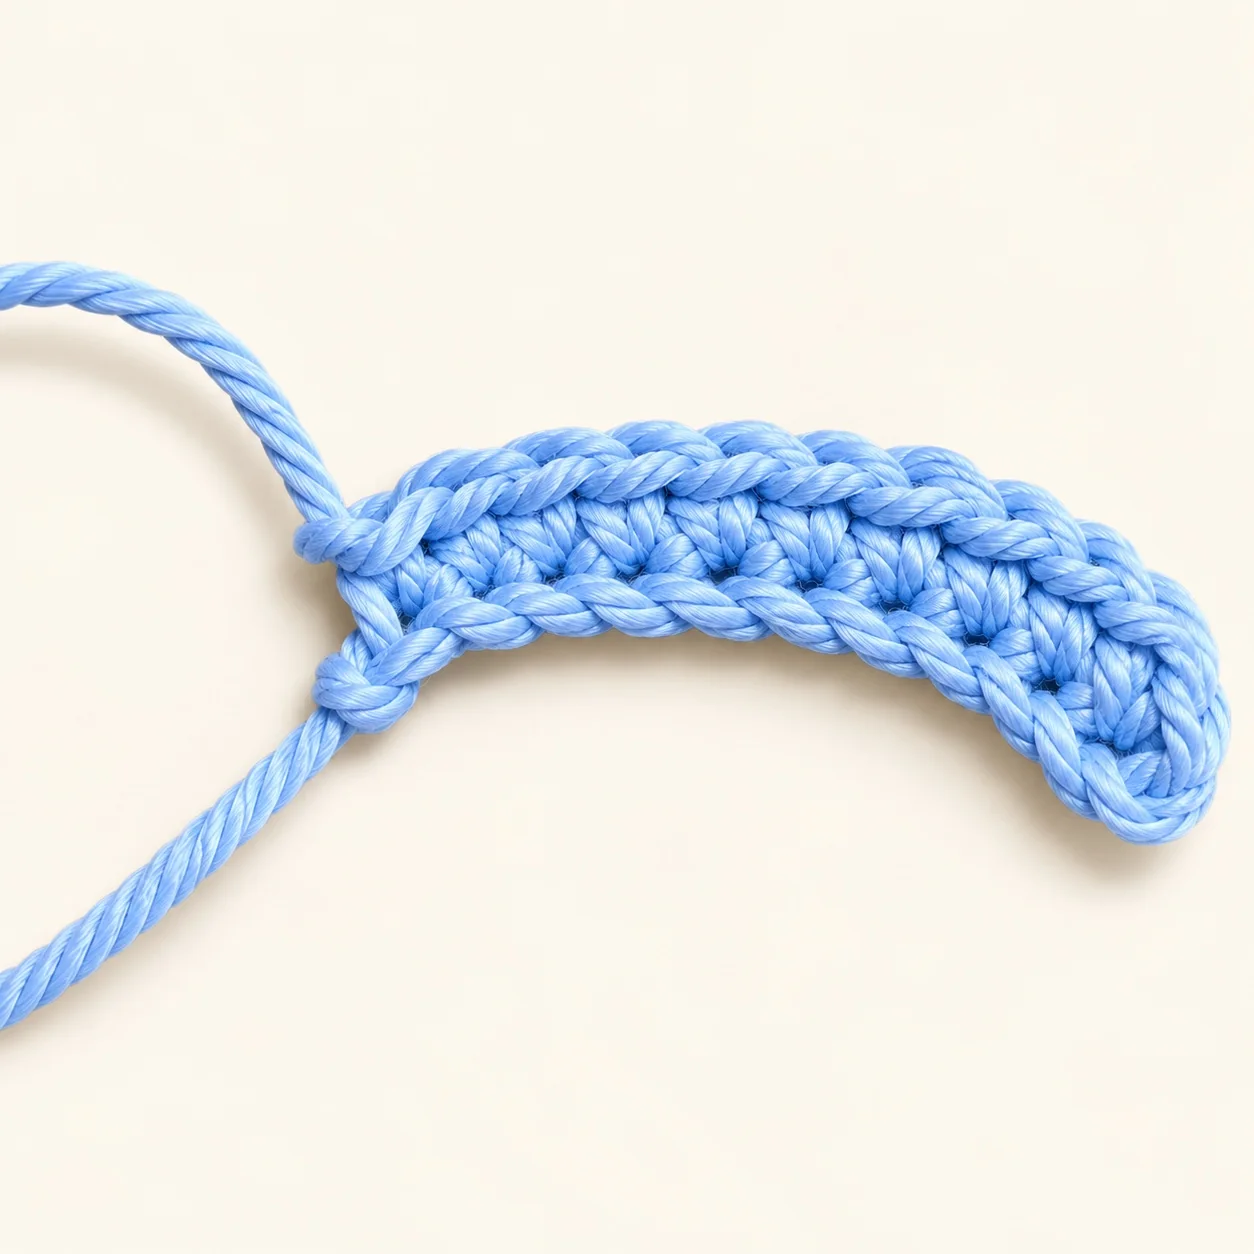
Source clarification required: These are the source’s five steps, translated without changing their numbers. In Step 1, ch 10 leaves nine available chains when starting in the second chain, but 6 sc plus 1 sl st uses only seven. The source does not explain what happens to the other two chains. Steps 2 and 4 say to join in the “third stitch from the back,” without an unambiguous counting direction or insertion point. Do not add stitches or change the starting chain simply to force a match.
Step 1 — Lilac: Ch 10. Starting in the second chain, work 6 sc and 1 sl st. Cut the yarn and fasten off.
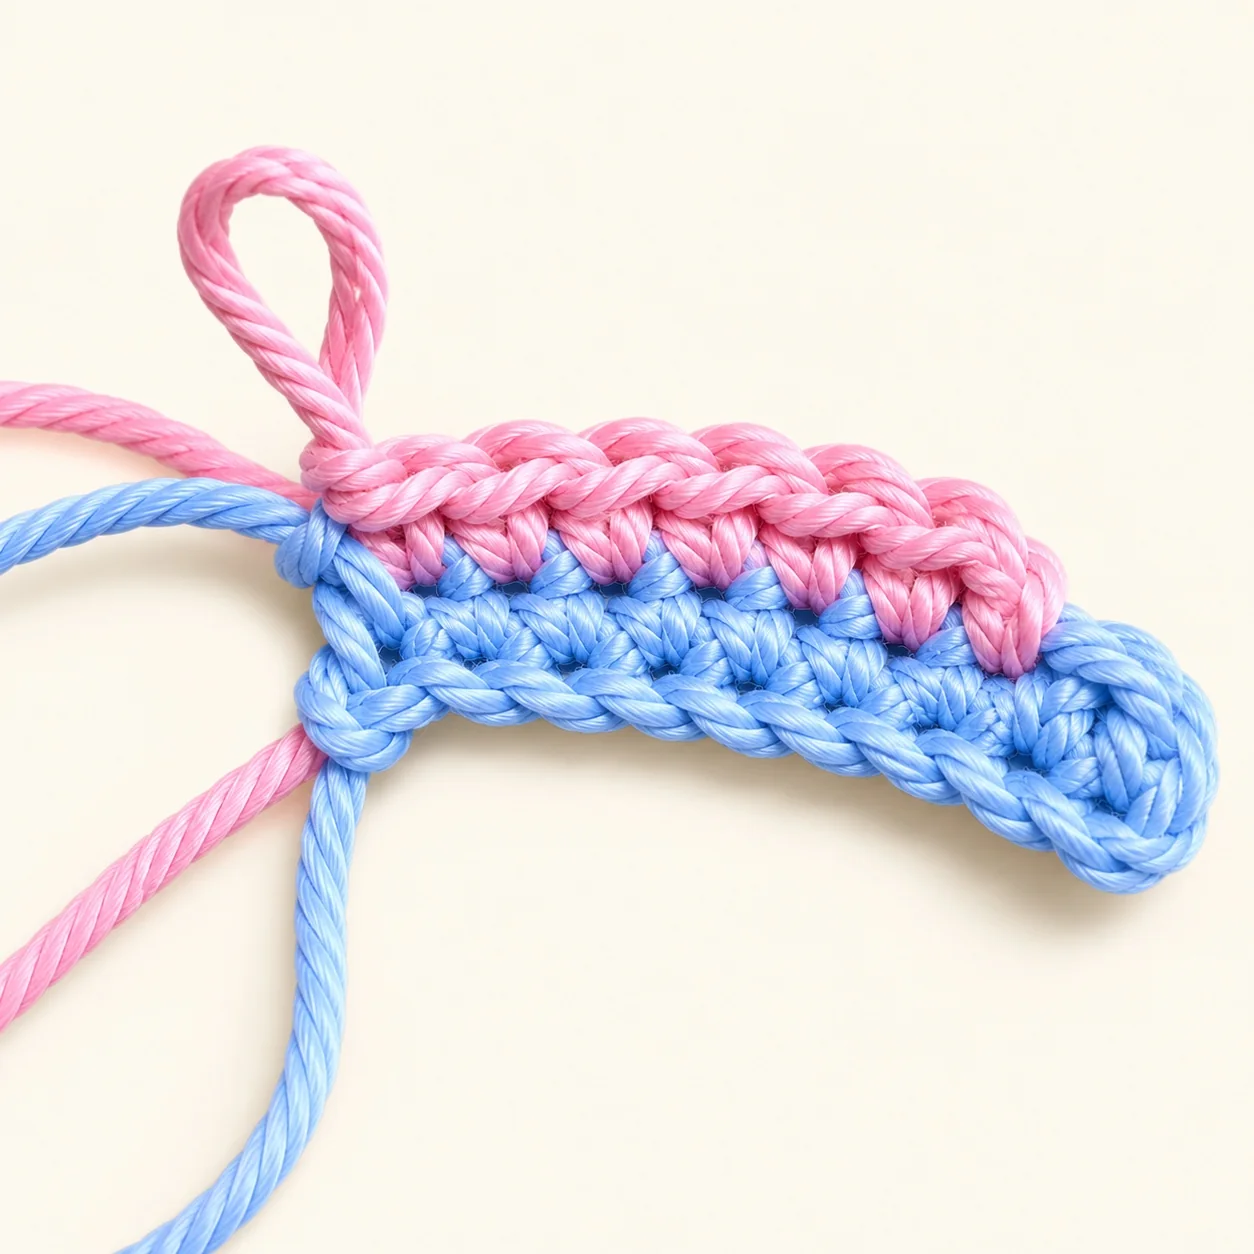
Step 2 — Pink: With the right side facing, join pink in the third stitch “from the back,” as described in the source. Work 6 sc and 1 sl st. Turn.
Step 3 — Pink: Ch 1, work 1 sl st and 5 sc. Cut the yarn and fasten off.
Step 4 — Aqua green: With the right side facing, join aqua green in the third stitch “from the back.” Work 4 sc and 1 sl st. Turn.
Step 5 — Aqua green: Ch 1, work 1 sl st and 3 sc. Fasten off and weave in the ends.
The source photographs show the intended stepped silhouette, with the longest band at the bottom and shorter bands above it. They are useful shape references, but their resolution does not settle the written stitch-count and joining ambiguities. The lilac band looks blue-lilac in some source photos; the written color instruction remains lilac.
Finishing and Assembly
Embroider the Smile
Using black yarn, embroider a U-shaped mouth between Rounds 1 and 2 of the yellow star.
Supplemental embroidery tip: Place the star flat while checking the curve. Pull the thread just firmly enough to shape the smile without puckering the center.
Add the Eyes and Optional Cheeks
The source allows either embroidered eyes or safety eyes. Position the eyes with one stitch of separation on each side of the mouth.
For its unstuffed version, the source describes securing the plastic eye posts by heating or flattening them at the back. That is a source-specific method, not a manufacturer-approved fastening method established by this review. This adaptation recommends the source’s embroidered-eye option rather than heating plastic. This is an explicit finishing recommendation, not a silent change to the crochet construction.
If desired, add blush to mark the cheeks.
Attach the Tail
Once the tail instructions have been clarified and the tail completed, attach it to the back of the star, toward one side, using the cold silicone craft adhesive listed in the source. Position it so the colored bands extend beyond the star’s outline.
Supplemental finishing tip: Check the placement from the front before applying adhesive. Follow the adhesive manufacturer’s instructions for application and drying; the pattern does not supply a drying time.
Helpful Crochet Tips
Mark the start of each circle round. In a spiral, there is no joining slip stitch to mark the boundary. Move the marker as each new round begins.
Compare the circles before forming the points. Both should have 20 edge stitches. Similar tension makes it easier to match four-stitch sections without twisting the star.
Keep track of the starting side. The source asks you to join yarn on the same side for each new point. Mark that side before cutting the first point’s yarn.
Check the star before adding its face. Five complete points and evenly closed tips give you a clearer surface for placing the smile and eyes.
Troubleshooting
| Problem | What to check |
|---|---|
| Round 4 has the wrong count | Include both the opening sc and the final sc. There are five increases in the complete round. |
| A point has fewer than eight stitches before decreasing | Confirm you worked four stitches from each circle, not four stitches through both layers together. |
| Stitches remain after five points | Each circle should begin with 20 edge stitches, divided into five groups of four. Check for skipped or reused stitches. |
| The two sides twist | Check that wrong sides face each other and corresponding four-stitch sections are aligned. |
| The face pulls the center inward | Loosen the embroidery tension before securing the yarn ends. |
| The tail runs out of stitches | This may be the source ambiguity, not your tension or counting. Obtain clarified instructions before changing the pattern. |
Frequently Asked Questions
Is this shooting star stuffed?
The main design is not stuffed. It consists of two circles joined by five points, with yarn ends tucked inside. The source mentions a stuffed variation but does not provide a fully specified alternate construction.
Is this suitable for a first crochet project?
The stitches are basic, but moving between two circles requires careful counting. The unresolved tail instructions also make this version unsuitable as an independently followable first-project tutorial until clarified.
What size will the finished star be?
The source does not provide finished measurements or gauge. Measure an actual completed sample made with your chosen yarn and hook before describing its size in a listing or tutorial.
Can I embroider the eyes instead?
Yes. Embroidered eyes are expressly offered in the source. Keep the stated one-stitch spacing on each side of the mouth.
Does the pattern include keychain assembly?
No. The final source photograph shows keychain examples, but the written instructions stop at assembling the shooting star. Hardware size and attachment method are not supplied.
Keep Exploring Crochet
This little star brings together spiral rounds, small shaped points, and embroidered details in one compact decoration. Once the tail directions are clarified, the finished piece can show how those techniques work together. Explore more free crochet patterns and technique guides from HookLoopPatterns for your next project.
Source Image Package and Placement
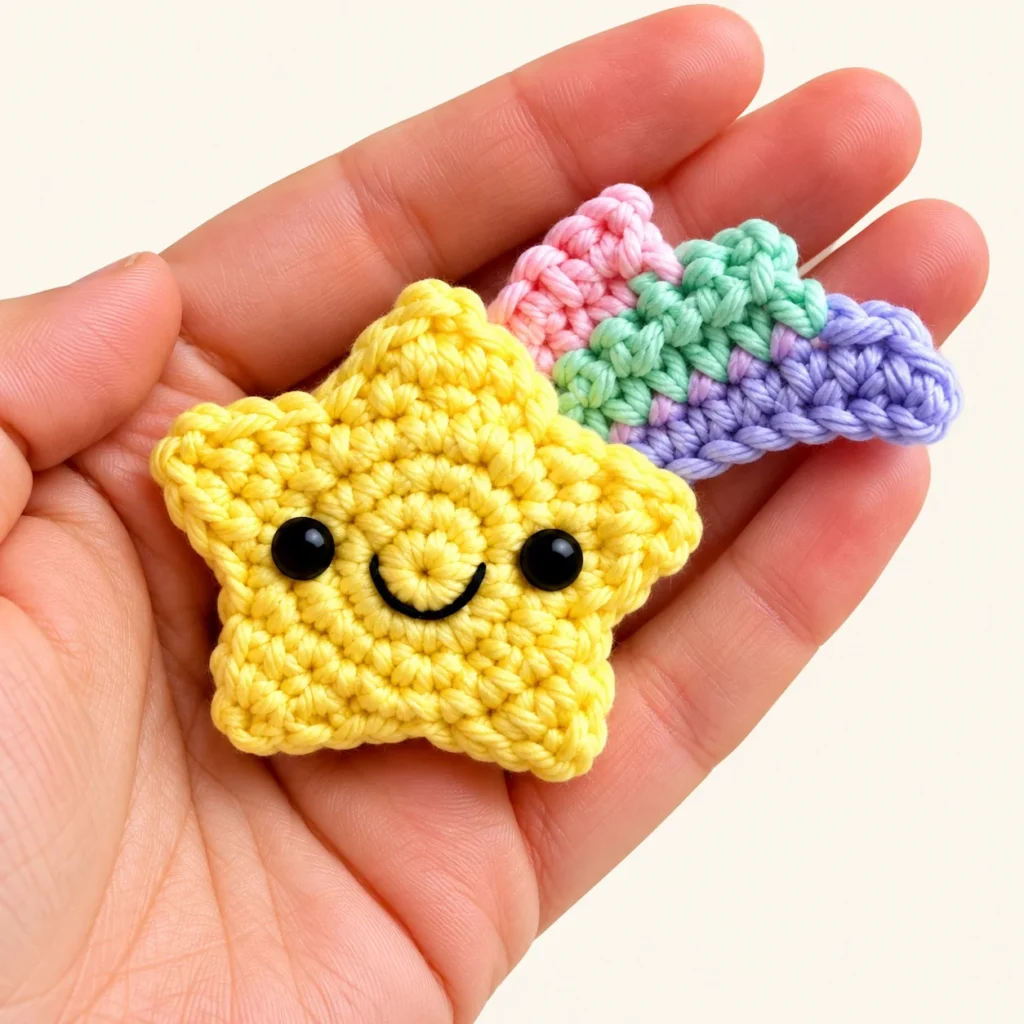
Placement: Featured image / above introduction
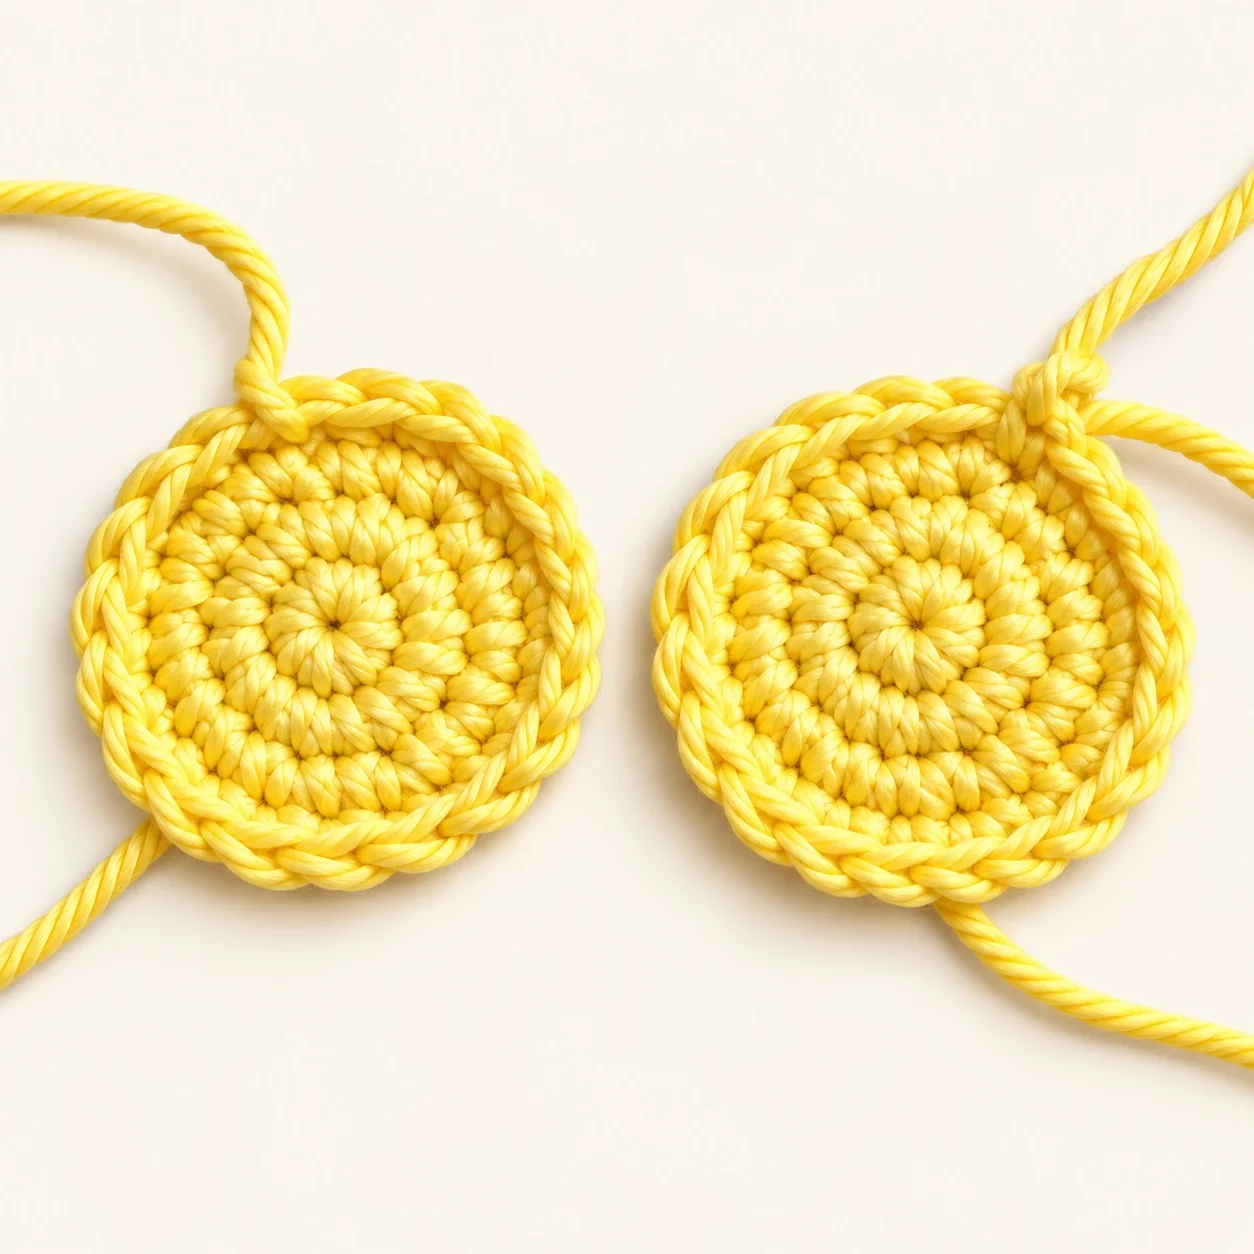
Placement: After Make Two Yellow Circles, before its Counting tip
Placement: After Point Round 2 and cutting yarn in Work the First Star Point
Placement: After Close every point in Work the Remaining Four Points
Placement: After tail Step 1, retaining source-clarification notice
Placement: After tail Step 2
Placement: After tail Step 5
Placement: After Embroider the Smile, before Add the Eyes